Tiny homes have become increasingly popular in recent years, as more and more people look to downsize and simplify their lives. Building a tiny home can be a challenging and rewarding experience, but it’s important to have a clear plan and understanding of the process before you begin. In this article, we’ll walk you through the steps of building your dream tiny home, from selecting the right design to finishing touches.
Step 1: Choose Your Design
The first step in building your tiny home is to choose a design that suits your needs and preferences. There are many different tiny home designs available, from traditional A-frame cabins to modern, minimalist structures. Some popular tiny home designs include:
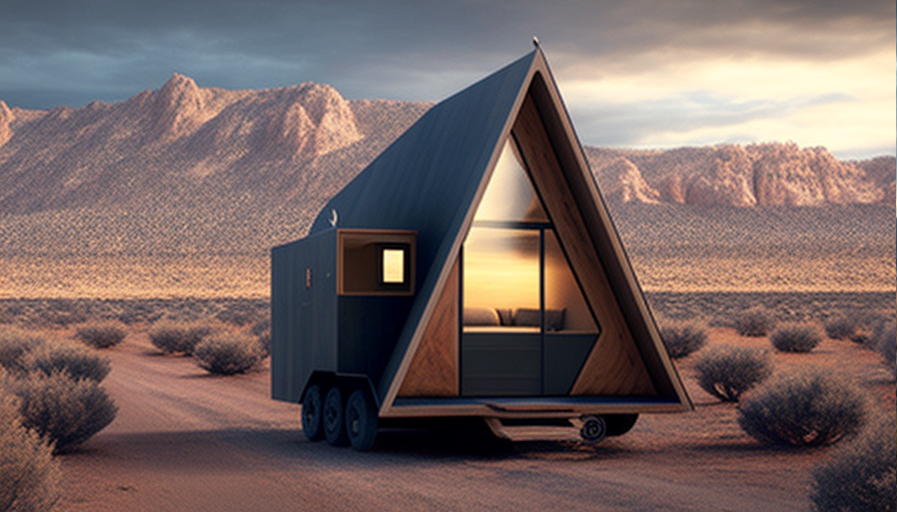
- A-frame cabins: These traditional designs have a triangular shape and are often made from wood. They’re simple to build and can be customized to suit your needs.
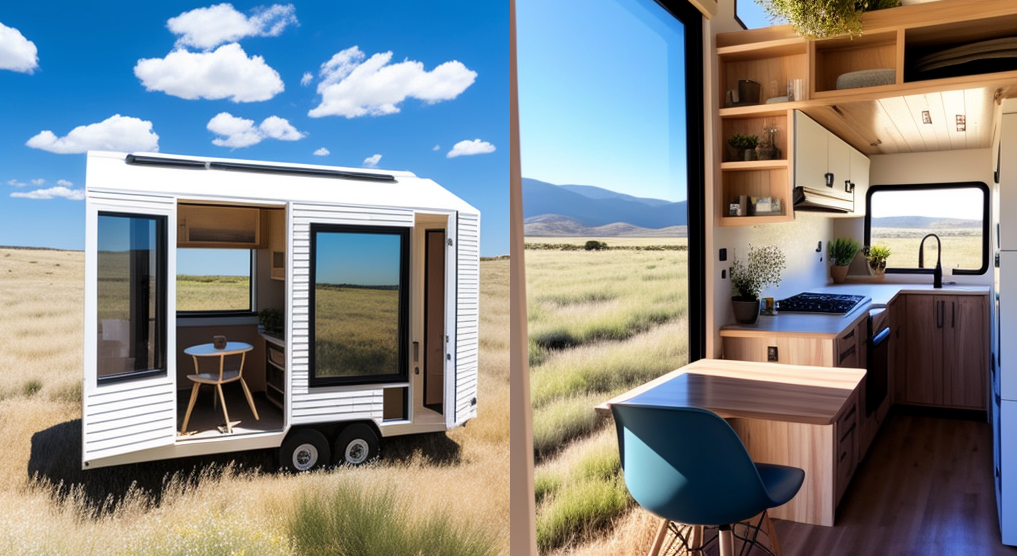
- Tiny houses on wheels: These homes are built on a trailer and can be moved easily. They’re great for those who want the freedom to travel or change locations.
- Yurts: These circular, portable homes are popular among nomads and are often made from felt or canvas.
- Shipping container homes: These homes are built using repurposed shipping containers and are known for their durability and low cost.
When choosing your design, consider factors such as budget, location, and intended use. Sketch out a few different designs and consult with a professional if necessary to ensure that your plans are feasible.
Step 2: Get Permits and Zoning Approval
Once you’ve chosen your design, the next step is to get the necessary permits and zoning approval for your tiny home. This process can vary depending on your location, so it’s important to check with your local government to see what’s required.
You’ll likely need to submit a building plan, provide proof of ownership of the land where the tiny home will be located, and pass a zoning inspection. It’s also important to make sure that your tiny home complies with any size or zoning restrictions in your area.
Step 3: Gather Materials and Tools
With your permits and zoning approval in hand, it’s time to gather the materials and tools you’ll need to build your tiny home. Some common materials used in tiny home construction include:
- Lumber: You’ll need a variety of different types of lumber, such as 2x4s and plywood, for framing, flooring, and other structural elements.
- Siding: Choose a siding material that suits your design and budget, such as wood, metal, or vinyl.
- Roofing: You’ll need roofing materials, such as shingles or metal, to protect your tiny home from the elements.
- Windows and doors: These are important for ventilation and natural light.
- Insulation: Insulation will help keep your tiny home construction warm in the winter and cool in the summer.
- Plumbing and electrical: You’ll need to install plumbing and electrical systems to make your tiny home livable.
Make sure to have all the tools you will need, such as saws, drills, levels, and a good set of hand tools.
Step 4: Build the Frame
With all your materials and tools prepared, it’s time to start building the frame of your tiny home. This is a crucial step in the construction process, as the frame forms the foundation and structure of your home.
Start by leveling the ground and laying the foundation, then move on to building the frame using your lumber. Follow the building plans and use precision and accuracy to ensure a sturdy structure. Make sure to also include any necessary support beams or trusses.
It is important to note that this step may require some heavy lifting, so make sure to have enough help and take necessary safety precautions to avoid accidents. And always consult with professionals if you have any doubts or lack experience.
Step 5: Install Plumbing and Electrical Systems
Installing plumbing and electrical systems is an essential step in building a livable tiny home. This step can be done by a professional, or you can choose to do it yourself, with proper knowledge and experience.
When installing plumbing, you’ll need to run water and waste lines, as well as install fixtures such as sinks, toilets, and shower/tub. It’s important to make sure that your plumbing meets local codes and regulations.
For electrical, you’ll need to run wiring, install outlets and light fixtures, and connect to a power source. Make sure to use proper electrical codes and safety guidelines.
Step 6: Insulate and Weatherproof
Proper insulation and weatherproofing will keep your tiny home comfortable and energy-efficient. There are many types of insulation materials available, such as fiberglass, cellulose, and spray foam. Consider factors such as cost, R-value, and ease of installation when choosing your insulation.
In addition to insulation, you’ll also need to weatherproof your tiny home. This includes sealing gaps and cracks, installing flashing and sealing around windows and doors, and applying a protective coating to the exterior.
Step 7: Finish the Interior
With the structural and systems work complete, it’s time to focus on the interior finishes of your tiny home. This includes finishing the walls, flooring, and ceiling, as well as installing cabinetry, countertops, and other fixtures.
When choosing finishes, consider factors such as durability, cost, and aesthetics. Remember to use space-saving techniques, such as fold-out furniture, to make the most of the limited square footage in your tiny home.
Step 8: Add the Finishing Touches
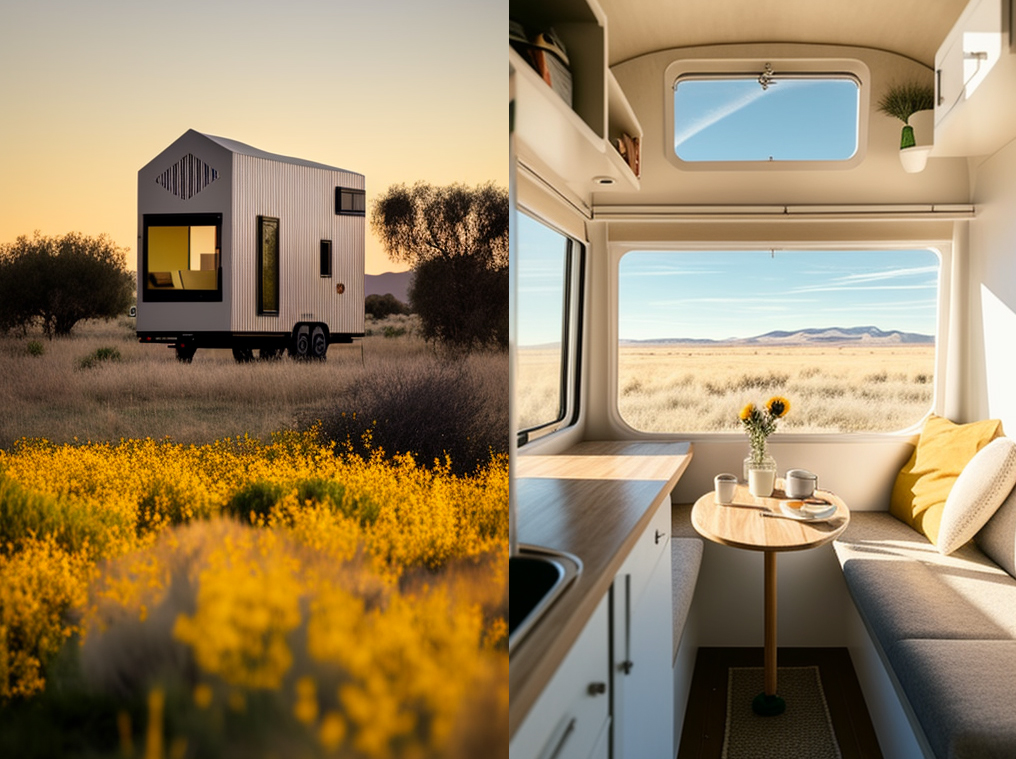
The final step in building your dream tiny home is to add the finishing touches. This includes landscaping, exterior lighting, and any decorative elements you want to include.
Take your time and put in the extra effort to make your tiny home truly unique and reflective of your personal style. And don’t forget to get a final inspection from your local building department to ensure your tiny home is up to code.
With these steps in mind and proper planning, you can build your dream tiny home and start enjoying the simple, sustainable lifestyle that it offers.
